FSA Speak to an Agent
Note: Spartacus 4.x is no longer maintained. Please upgrade to the latest version.
Note: Spartacus 4.x was tested with SAP Commerce Cloud versions 1905 to 2205. Spartacus 4.x has not been verified to work with (and is not guaranteed to work with) SAP Commerce Cloud 2211 or later releases.
Note: This feature is introduced with version 3.0 of the FSA Spartacus libraries and enhanced with version 4.0.
The Speak to an Agent feature offers customers a possibility to easily start a live conversation with an insurance agent. It combines the advantages of an agent-driven approach (person-to-person interactions, flexibility in discussions, ability to explain and discuss complex matters) with the flexibility and cost advantages of online communication.
Financial Service Accelerator integrates with the SAP partner company SYNCPILOT and their solution Live Contract to enable this functionality to your customers.
Table of Contents
Integration
To integrate your project with Live Contract, you first need to set the syncpilot.integration.active property to true in your local.properties file.
The next step would be to create an instance of the CMSConnectionComponent, which will be used as an entry point to the partner solution.
For easier integration, we recommend you use the existing instances of the CMSConnectionComponent, introduced for this occasion, and configure them to suit your needs.
For detailed information on integration with Live Contract and requirements, see Speak to an Agent documentation on SAP Help Portal.
When used, SyncPilot components are visible on the storefront to logged-in customers. When customers trigger the call on the storefront, they are redirected to the partner solution endpoint in the new tab.
Components
The available components are:
CmsSyncPilotComponent- a reusable component created for business users, who can easily enable and configure the component through the Backoffice. When triggered, calls the first available agent. In the default implementation, it is used throughout the quotation and application processes.GenericSyncPilotComponent- a more restricted component, meant to be used by developers, who can configure it through HTML. When triggered, the component calls the first available agent, or a specific agent, if theagentparameter is included in the request. In the default implementation, this component is used on the product comparison table and on the Find an Agent page.
Configuration
CmsSyncPilotComponent
The CmsSyncPilotComponent can be configured from the Backoffice or by adding an ImpEx file through the Administration Console.
The business user can easily place the component anywhere in the application using content slots.
In the default implementation, for demonstration purposes, it is used during the quotation and application process, from the second step (Add Options) until the last step.
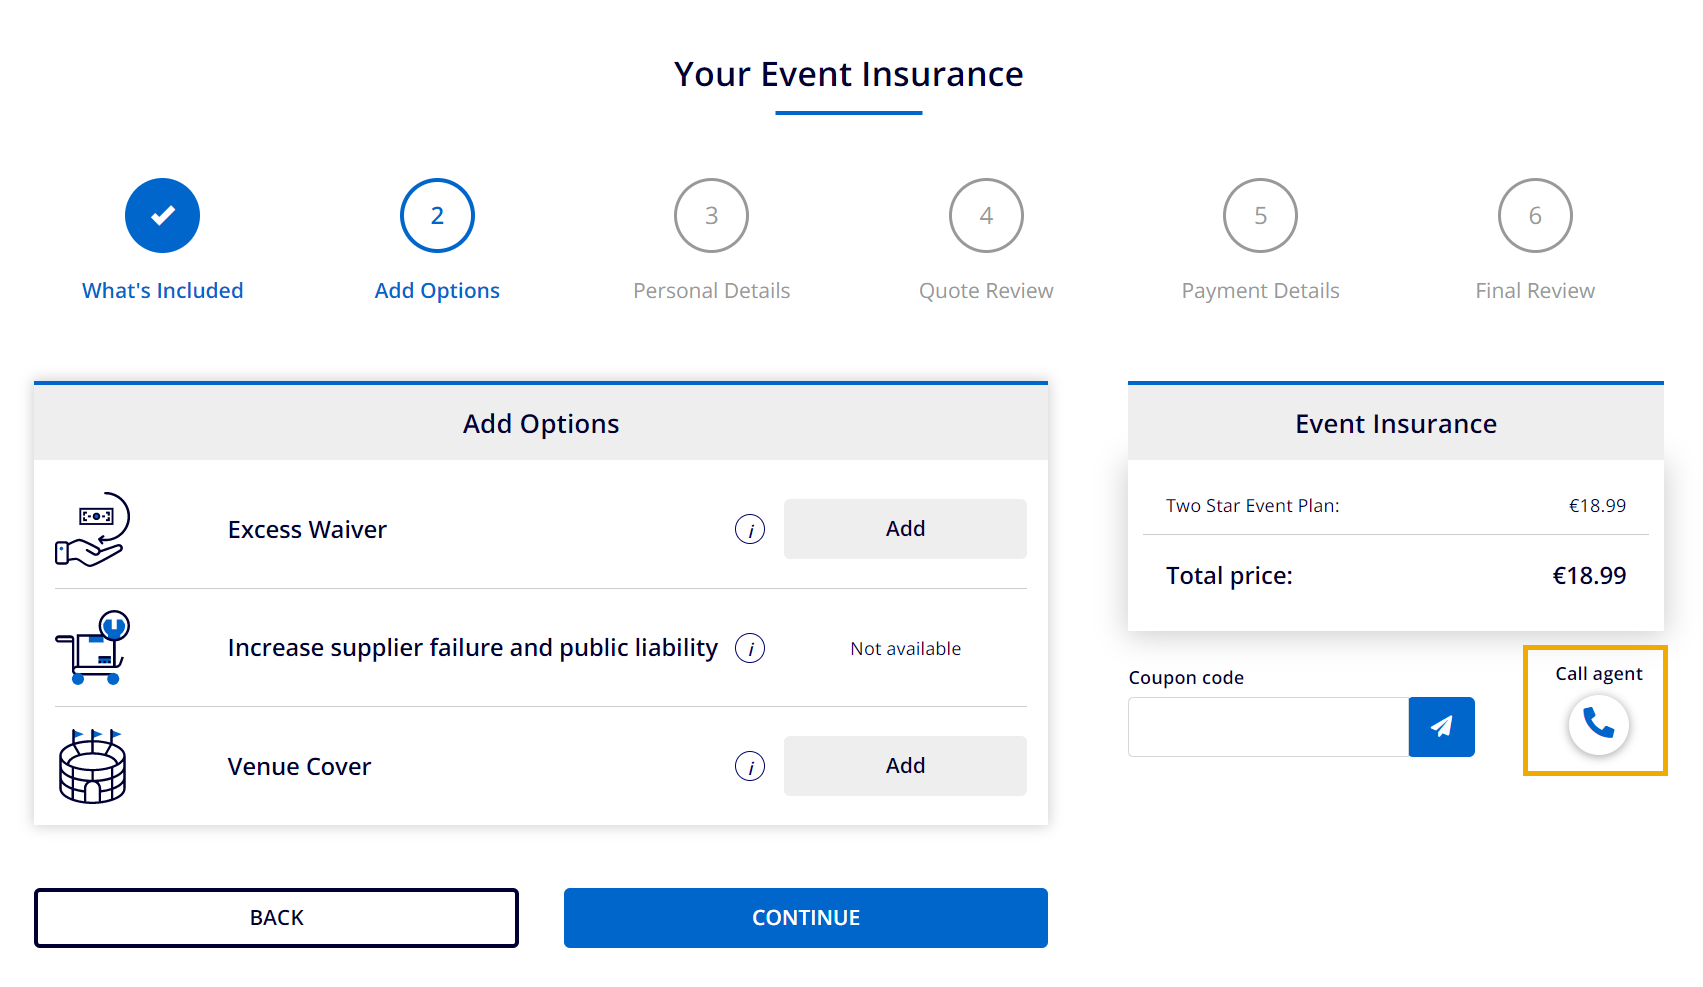
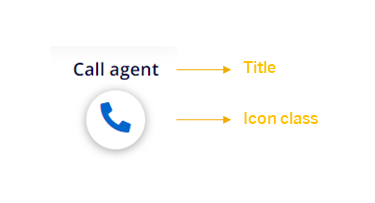
The elements of the component that can be configured are the title and the icon class.
For detailed information on how to configure the CmsSyncPilotComponentusing Backoffice, see the Speak to an Agent documentation on the SAP Help Portal.
GenericSyncPilotComponent
The GenericSyncPilotComponent was created in order for the development user to be able to use this functionality in multiple places by injecting a selector tag into the HTML template.
As said, the GenericSyncPilotComponent can be used in two scenarios, and depending on the use case, it has two different designs.
This component can be used for:
-
Contacting the first available agent
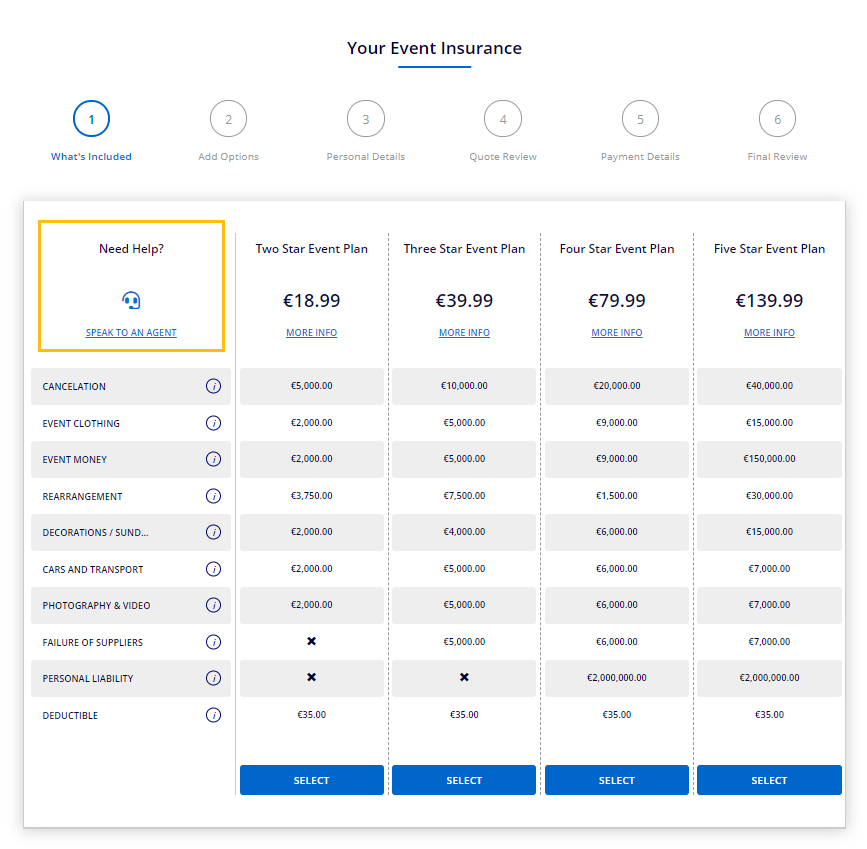
In this scenario, the component is used without passing the
agentattribute. This usage is similar to theCmsSyncPilotComponent, except that in this case, the component has a fixed design which cannot be modified. The component in this case contains a title, a headphone icon, and a link. You can change only the icon element (see example below). In the default implementation, the component is used on the product comparison page, taking into consideration that this is the moment when the customer might be in doubt about which product to choose, and therefore need support. In your custom implementation, you can place the component wherever it suits your needs.
-
Contacting a specific agent
The component, in this case, needs to be passed the
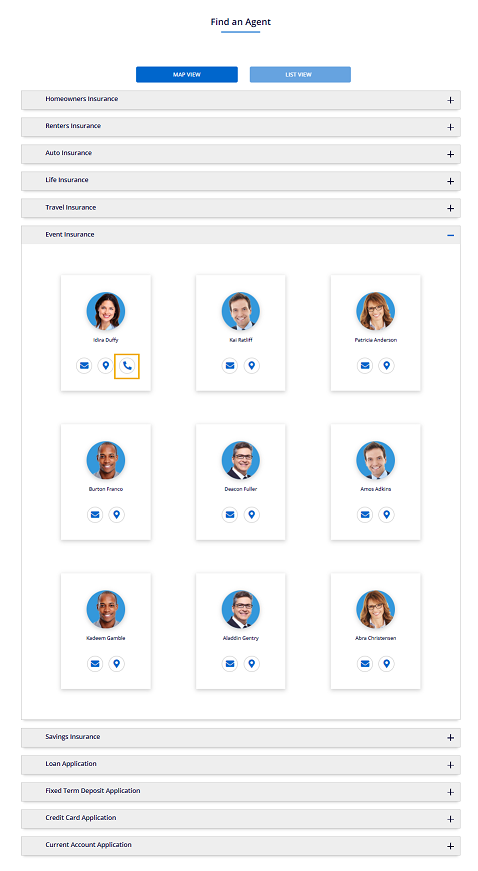
agentattribute and is connected to agent availability functionality. In the default implementation, the component is used on the Find an Agent page, when the agent is online and available for call. It is placed inside the agent information card, on both Map and List views. The component, in this case, contains a phone icon element, which you can change.
GenericSyncPilotComponent on the Agent Card in Map View
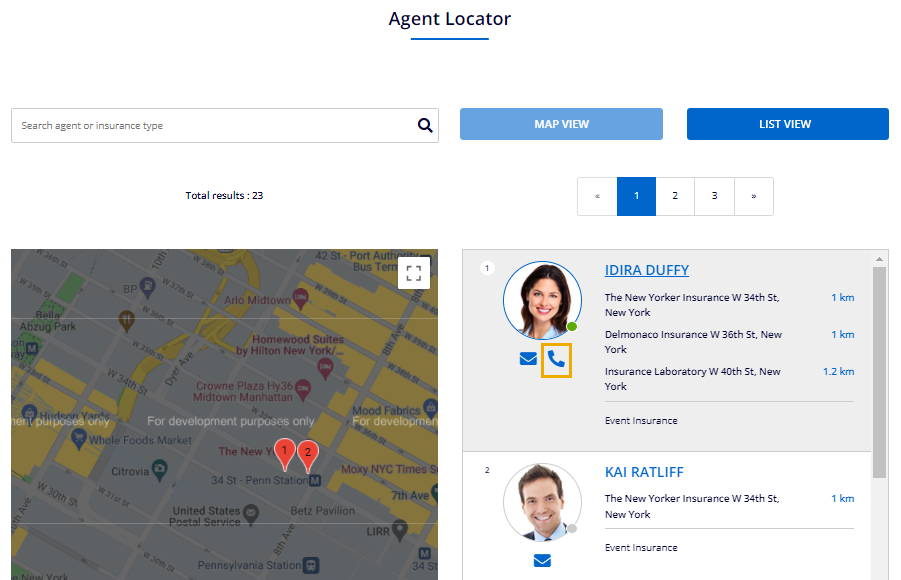
GenericSyncPilotComponent on the Agent Card in List View
The following code example demonstrates how to pass the agent attribute to the GenericSyncPilotComponent:
<cx-fs-generic-sync-pilot [agent]="agent"></cx-fs-generic-sync-pilot>
The following code example shows how you can change the icon type of the component by passing enum type FS_ICON_TYPE:
<cx-fs-generic-sync-pilot [type]="iconType.AGENT"></cx-fs-generic-sync-pilot>
The default icon configuration with available defined icon classes for all FS_ICON_TYPE enum properties is as follows:
   import {
     fontawesomeIconConfig,
     IconConfig,
     IconResourceType,
   } from '@spartacus/storefront';

   export const iconConfig: IconConfig = {
     ...fontawesomeIconConfig,
     icon: {
       symbols: {
         PROPERTY: 'fs-icon icon-house',
         AUTO: 'fs-icon icon-auto',
         HEART: 'fs-icon icon-heart',
         TRIP: 'fs-icon icon-plane',
         EVENT: 'fs-icon icon-event',
         PHONE: 'fas fa-phone-alt',
         AGENT: 'fas fa-headset',
         PERSON: 'fas fa-user',
       },
       resources: [
         {
           type: IconResourceType.LINK,
           url: 'https://use.fontawesome.com/releases/v5.15.4/css/all.css',
         },
       ],
     },
   };

   export enum FS_ICON_TYPE {
     PROPERTY = 'PROPERTY',
     PERSON = 'PERSON',
     AUTO = 'AUTO',
     HEART = 'HEART',
     TRIP = 'TRIP',
     EVENT = 'EVENT',
     PHONE = 'PHONE',
     AGENT = 'AGENT',
   }
If you wish to add other icons, override this default configuration and create your own.