Table Component
Note: Spartacus 4.x is no longer maintained. Please upgrade to the latest version.
Note: Spartacus 4.x was tested with SAP Commerce Cloud versions 1905 to 2205. Spartacus 4.x has not been verified to work with (and is not guaranteed to work with) SAP Commerce Cloud 2211 or later releases.
Note: This feature is introduced with version 3.0 of the Spartacus libraries.
The table component is a low-level component for rendering tabular data, using the standard HTML <table> element. While HTML tables can have very complex structures, the table component implementation is fairly limited.
The main purpose of the table component is to allow you to generate tables based on the header configuration, and to provide a mechanism to customize the rendering of table cells.
The table component supports various layout orientations, as well as responsive configurations for table definitions.
Table of Contents
- Table Cell Configuration
- Table Layout Configuration
- Responsive Table Configuration
- Cell Renderers
- Cell Outlets
- Localized Table Headers
Table Cell Configuration
Table configurations are defined by a table type. The type is a unique key that is used to identify the table configuration from the TableConfig.
The TableConfig contains a global configuration for all tables, as well as type-specific configurations. The global configuration defines the default components to render the header and data cells. These components can be overridden in type-specific configurations.
The following is a basic example of a table configuration, which provides the cell definition for the “budget” table:
provideConfig({
  table: {
    budget: {
      cells: ['name', 'active', 'amount', 'dateRange', 'unit'],
    }
  }
} as TableConfig)
Table Layout Configuration
The table can be rendered in the following different layout orientations:
VERTICALrenders the table vertically, with a heading on top of the table.HORIZONTALrenders the table horizontally, with the header on the left side of the table.-
VERTICAL_STACKEDrenders multiple tables with a horizontal layout, each table containing a single item, and each stacked one on top of the other. The following is an example: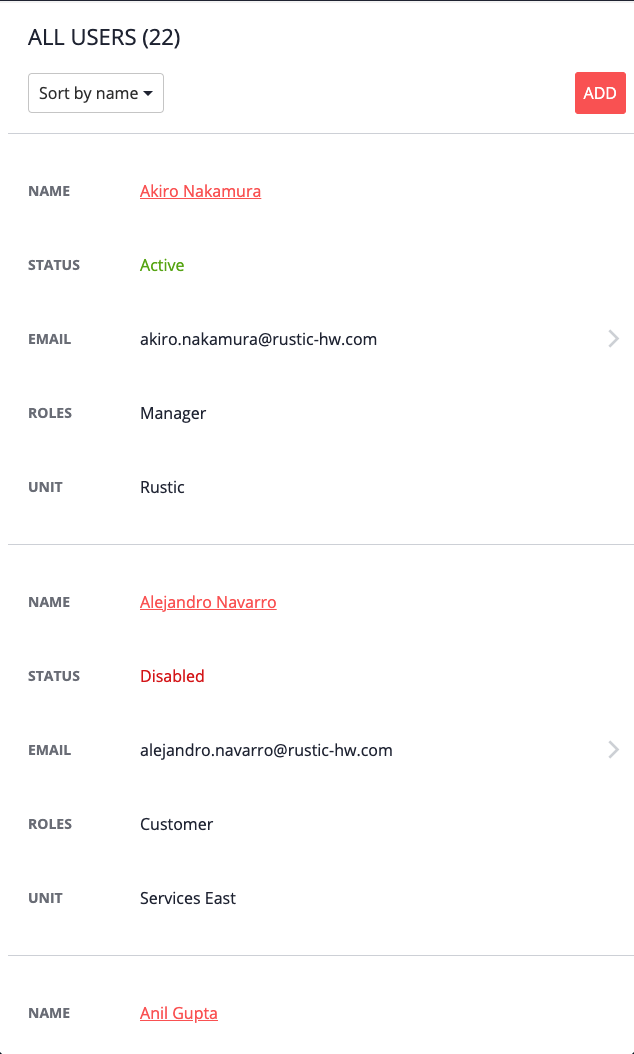
The vertical layout is the default layout.
A layout configuration can be provided for each table type, as shown in the following example:
provideConfig({
  table: {
    budget: {
      cells: ['name', 'active', 'amount', 'dateRange', 'unit'],
      options: {
        layout: TableLayout.VERTICAL,
      }
    }
  }
} as TableConfig)
Responsive Table Configuration
Table configurations can be further configured for each breakpoint, to change the table for each screen size. A mobile-first approach is used, and cascades to larger screen size(s) to keep the configuration as simple as possible.
The following example demonstrates building a configuration on top of the preceding configuration. First, my-table is defined, and then it is redefined as md for medium-sized (tablet) screens:
provideConfig({
  table: {
    'budget': {
      cells: ['name', 'active', 'amount', 'dateRange', 'unit']
      options: {
        layout: TableLayout.VERTICAL
      },
      md: {
      cells: ['name', 'unit']
        options: {
          layout: TableLayout.HORIZONTAL
        }
      }
    }
  }
} as TableConfig)
Cell Renderers
One of the key features of the table component is the ability to provide (custom) cell components for cell rendering. While a default component is provided for both header and data cells, custom components can be configured to change the rendering. You can configure the rendering of headers and data cells separately.
The following example demonstrates how cell rendering can be configured:
provideConfig({
  table: {
    'budget': {
      cells: ['name', 'active', 'amount', 'dateRange', 'unit']
      options: {
        headerComponent: BudgetHeaderCellComponent,
        cells: {
          name: {
            dataComponent: BudgetNameDataCellComponent,
          },
          active: {
            headerComponent: BudgetActiveHeaderComponent,
          }
        }
      }
    }
  }
} as TableConfig)
Cell Outlets
Aside from configuration, the table component can be customized with outlets. Outlets are used to customize existing UI elements without changing existing component logic or templates.
The table component generates an outlet for each cell, so that customizations can be done by both outlet templates and components. Outlet references are concatenated from the table type and header key. The following snippet shows an outlet generated for the table header name of the budget table:
<th>
  <template cxOutlet="table.budget.header.name"> </template>
</th>
Similarly, the data cells (<td>) are generated with the table.budget.data.name outlet template reference.
The cell context is injected in the outlets, so that template or component logic can pick up the provided cell data. The outlet is typed with either TableHeaderOutletContext or TableDataOutletContext, which are exported in the public API.
Localized Table Headers
Table headers are rendered by default with the TableHeaderCellComponent. This component renders the field label from the configuration, if it is available. If there is no field label provided, an i18n label is expected. The i18n label is taken from fieldOptions.i18nKey, but if this is also not provided, it will fall back to the following concatenated label:
[i18nRoot].[cell-name]
The i18nRoot is part of the outlet context, which is driven by the TableComponent.i18nRoot input. This rather complex setup improves the flexibility and reusability of the table component.